How to Effectively Use Snipping Tool for Quick Screen Captures in 2025
How to Effectively Use Snipping Tool for Quick Screen Captures in 2025
The Snipping Tool is a powerful utility in Windows that allows users to take screenshots efficiently. With its various features and capabilities, it streamlines the process of capturing, editing, and sharing visual content. In this guide, we’ll explore how to use the snipping tool effectively, discuss its key functionalities, and provide practical tips for its applications in different environments.
Overview of Snipping Tool Features
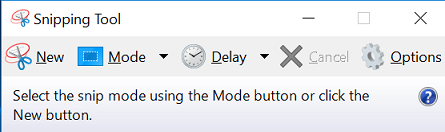
Understanding the **snipping tool features** is essential for maximizing its potential. The Snipping Tool not only lets you capture static images of your screen but also facilitates various annotations and editing options. Users can select from different snip types, such as rectangular, free-form, window, and full-screen snips, which allows flexibility in choosing what part of the screen to capture. The interface is user-friendly, making it accessible even for beginners. By exploring the **snipping tool overview**, you can understand the various **options** available and how they can enhance your digital documentation or presentations.
Types of Snips and Their Uses
The **snipping tool options** offer different ways to capture your screen. Using these different snip types effectively can boost productivity. For example, the rectangular snip allows users to draw a box around the area they want to capture, making it great for highlighting specific content, while the window snip effortlessly captures an active window. Understanding when to use each type can help users create engaging content with precise screenshots.
Customization and Annotations
One of the standout features of the Snipping Tool is its ability to annotate captured images. The **snipping tool annotations** feature allows you to add notes, highlights, and drawings directly onto your screenshots. This is particularly useful in educational settings or during collaborative projects where feedback is needed. Being able to customize and enhance images boosts clarity and improves communication among team members.
Saving and Sharing Screenshots
After you have captured and annotated your screenshot, knowing how to effectively save and share your images is vital. The **snipping tool screenshot options** include saving files in different formats such as PNG, JPEG, or HTML, depending on your needs. For quick sharing, you can easily copy the screenshot to your clipboard and paste it directly into emails or documents, simplifying the process of collaboration and feedback.
Getting Started with Snipping Tool: A Step-by-Step Guide
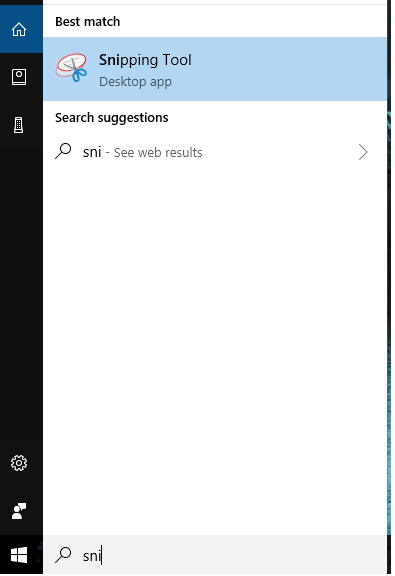
If you’re new to using the Snipping Tool, following a **snipping tool tutorial** can make your experience smoother. First, ensure the tool is installed on your Windows device, and if necessary, check for updates with the **snipping tool update** feature. To launch the Snipping Tool, simply type “Snipping Tool” in the Windows search bar.
Creating Your First Screenshot
Creating your first screenshot is straightforward. To begin, click “New” within the program to initiate a snip. Choose your desired snip type and capture your image. Once captured, you can draw or highlight areas using the pen and highlighter options, allowing for effective **collaborative screenshot tools** in team settings.
Using Keyboard Shortcuts
Leveraging **snipping tool shortcuts** can significantly improve your capturing speed. For example, pressing “Windows Key + Shift + S” opens a snipping toolbar instantly, allowing for quick selections. Familiarizing yourself with these shortcuts enhances efficiency, particularly during meetings or presentations, where visual documentation may be required quickly.
Adjusting Tool Settings
Using the **snipping tool settings**, you can personalize aspects of the tool to fit your preferences. For instance, you can tweak the delay settings, which allows you to schedule the snipping to occur after a specified time, giving you time to set up the screen as desired. Familiarizing yourself with these settings maximizes your experience with the tool.
Advanced Techniques for Using the Snipping Tool
Once you’re comfortable with the basics, exploring **advanced techniques for the snipping tool** can refine your skills further. For users looking to take their screenshot game to the next level, combining Snipping Tool with other programs can enhance overall functionality.
Integrating Snipping Tool with Other Applications
The Snipping Tool integrates well with various applications such as Microsoft Office. For example, snipped images can be directly inserted into Word or PowerPoint for presentations, greatly improving visual communication. This kind of integration helps streamline workflow processes and enhances digital content communication.
Using Snipping Tool in Business Settings
In a professional environment, the **snipping tool for business** can facilitate effective communication and documentation. Easily providing feedback on reports or collaborating on projects with visual aids can help teams stay aligned. Utilizing snips in training materials or creating visual guidelines can bolster clarity and understanding among your team members.
Informational and Educational Uses
In educational settings, the **snipping tool for educational use** allows instructors and students to create visual documentation of lessons or resources. But more than just capturing screens, it enables users to create tutorials and other instructional materials. Sharing these snippets in digital classrooms supports student understanding and engagement.
Key Takeaways
- Understanding the various **snipping tool features** can maximize screenshot utility.
- Learn to customize and annotate screenshots effectively for better communication.
- Utilize **keyboard shortcuts** for speed and efficiency during your capturing process.
- Integrate the Snipping Tool in business and educational applications for enhanced productivity.
FAQ
1. What is the Snipping Tool and how does it differ from Snip & Sketch?
The **Snipping Tool** is a classic Windows application designed for screen capturing, allowing users to take screenshots of their screen. Unlike Snip & Sketch, which offers additional editing features and a more modern interface, the Snipping Tool remains straightforward with essential functions for basic screenshot needs.
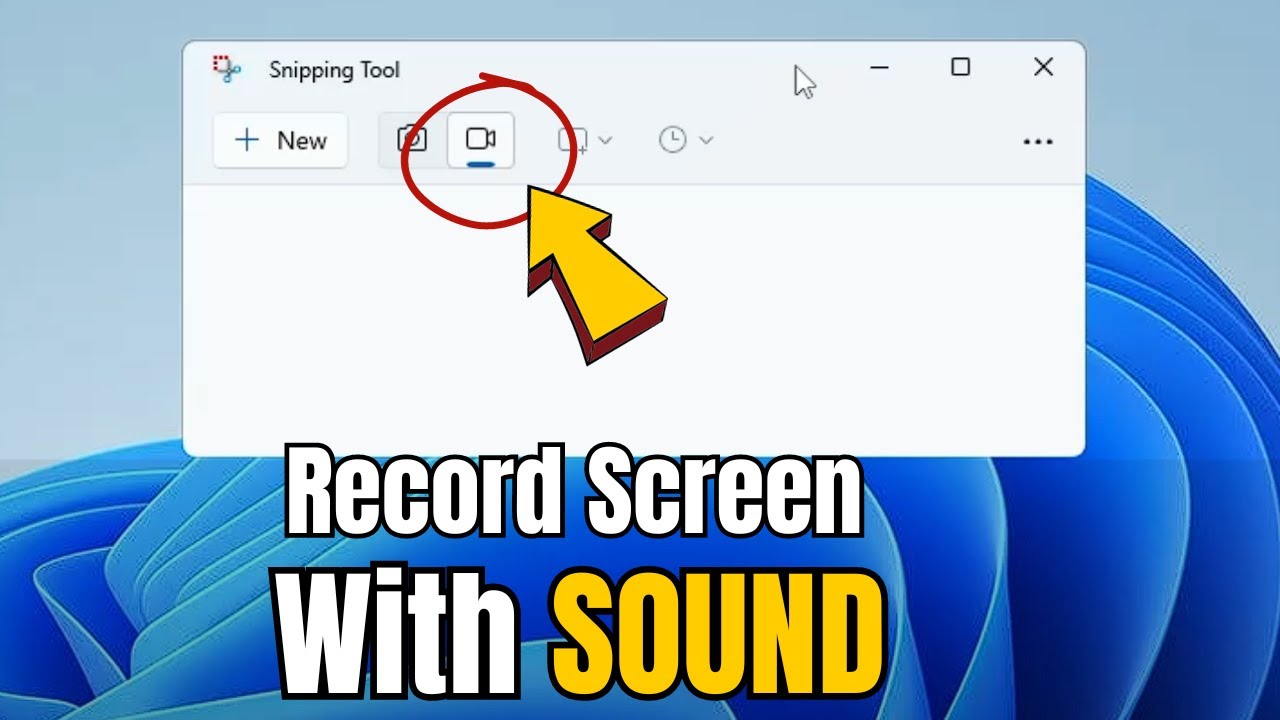
2. Can the Snipping Tool be used for video capturing?
No, the **snipping tool** is specifically designed for capturing static images, not videos. If you need to capture video, consider using screen recording software systems instead.
3. How do I annotate screenshots in Snipping Tool?
To annotate screenshots, capture your image and use the available tools such as pens and highlighters in the Snipping Tool’s interface. This way, you can provide clear feedback or highlight important details effectively.
4. Are there any alternatives to the Snipping Tool?
Yes, there are several alternatives to the Snipping Tool, including **cutting edge options like Snip & Sketch** and various third-party screenshot software that offer advanced editing capabilities.
5. What are the best practices for sharing screenshots?
When sharing screenshots, always ensure clarity and relevance. Use proper file formats to ensure quality, optimize file sizes for quick uploads, and provide context to the screenshots you are sharing for better understanding among your audience.