Top 5 Ways to Make Slime Without Borax in 2025: Easy and Fun Recipes to Try!
Top 5 Ways to Make Slime Without Borax
Slime has become a beloved activity for kids and adults alike, offering endless fun and creativity. If you’re looking to learn how to make slime without borax, you’ve come to the right place. In this article, we’ll share five simple and engaging recipes for creating slime at home using safe and non-toxic ingredients. These DIY slime recipes are friendly for little hands, allowing them to explore the wonderful world of slime while also encouraging sensory play. Let’s dive into our amazing world of slime-making!
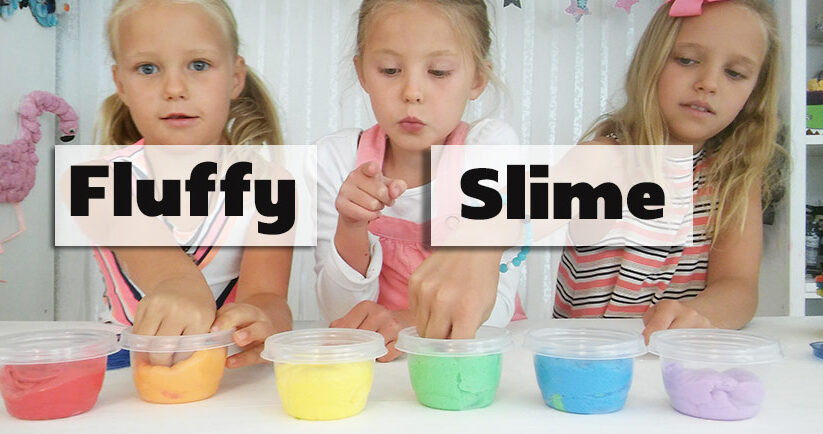
1. Fluffy Slime Recipe
If you’re searching for a stretchable slime option, the fluffy slime recipe is a great choice! This recipe creates an airy and soft texture, making it a delightful option for kids. To start, you’ll need a few simple ingredients: white glue, shaving cream, and contact lens solution. Mix one cup of glue with two cups of shaving cream in a bowl. Gradually add the contact lens solution, stirring continuously until the mixture holds together. Knead the slime with your hands to achieve the desired consistency.
Making it Colorful
To enhance this fluffy slime tutorial, you can add food coloring or glitter for that extra flair. Simply blend in a few drops before kneading. Not only does this add vibrant colors, but it also appeals to the creative side of kids. These fun slime ideas encourage imaginative play and sensory exploration, making fluffy slime a perfect choice for a kids slime project.
Storage Tips for Fluffy Slime
After enjoying your fluffy creation, it’s important to store it properly. Place your slime in an airtight container to keep it fresh. This DIY crafting tip ensures your homemade slime remains usable for days. Always remind children to wash their hands after play to maintain hygiene while enjoying their crafting slime.
2. Edible Slime without Borax
For a truly unique experience, try making edible slime. This recipe is a fantastic alternative that ensures safety during playtime. You will need ingredients often found in your kitchen: corn syrup, cornstarch, and powdered sugar. Combine a cup of corn syrup with half a cup of cornstarch in a bowl and mix well until it reaches a stretchy consistency.
Variations for Edible Slime
You can experiment with this base by adding flavored gelatin or Kool-Aid to introduce vibrant colors and fun tastes. This enhances the sensory play aspect, giving kids an engaging and delicious twist on their creative activity. Easy edible slime recipes like this cater to various tastes and preferences, ensuring fun for everyone involved!
How to Play with Edible Slime
Encouraging kids to interact with their edible slime can turn into a delightful sensory play experience. Use cookie cutters to shape them into fun forms and let kids decorate the slime with sprinkles or tiny edible charms. Remember to supervise young children as they play, ensuring safety during this interactive slime activity.
3. Glue-Free Slime Options
If you’re looking for an alternative that doesn’t involve traditional glue, fret not; making slime without glue is entirely possible! A popular recipe involves corn starch and body wash. Mix equal parts of body wash and corn starch until you achieve a gummy, sticky slime. Kids can have fun experimenting with various scents by choosing different body washes.
Perfecting the Consistency
One of the vital aspects of achieving the right slime consistency is the amount of corn starch you add. Start with a small quantity and gradually increase it until you reach the desired texture. You can teach kids about measurement and give them the tools to create their personal slime variations. If it becomes too sticky, simply add a little more corn starch until it’s just right.
Playing with Glue-Free Slime
The fun doesn’t stop at making glue-free slime. Let kids mold it into shapes or use it to create scenery for imaginative plays. Engage their creativity and motivate them to think outside the box with these slime-making tips. Whether they’re shaping animals or creating squishy characters, the possibilities are endless!
4. Thick Slime with Baking Soda & Contact Lens Solution
This recipe combines classic slime ingredients for a thick, stretchy texture. To make this slime, mix 1 cup of white glue with 1 teaspoon of baking soda in a bowl. Add food coloring if desired for a vibrant final product. The final touch is gradually incorporating the contact lens solution until your slime begins to thicken and pull away from the edges of the bowl. Knead it for a while to make it smooth and workable.
Varying Slime Consistency
Adjust the amount of baking soda to alter the slime’s thickness; adding less results in a stretchier slime, while more will yield a thicker consistency. These small adjustments transform your basic slime recipe into a tailored tactile activity, allowing children to explore different textures and find what they enjoy most.
Creative Extensions with Thick Slime
Thick slime can be enhanced with scented oils or tiny beads to create unique tactile experiences. Encourage kids to merge different colors or additives, initiating discussions about textures and mixing. The playful exploration is an educational opportunity encompassing arts and crafts while engaging their senses!
5. Satisfying Putty with Cornstarch and Dish Soap
The delightful putty you can create with cornstarch and dish soap promises hours of satisfaction. This slime alternative requires no adhesion ingredients; mix 1 cup of cornstarch with 1/2 cup of dish soap until it forms a pliable putty. This manageable mixture emphasizes creative play material that brings comfort during squishy activities.
Option for Drying Out the Putty
In situations involving excess moisture, adding additional cornstarch allows for easy adjustment. This introduces an interesting wear factor as children see the kneading process yield different results. It’s a simple kid-friendly project, promoting hands-on exploration while emphasizing creativity!
Introducing Science Play with Putty
This activity offers a perfect gateway for fundamental science discussions: polymers, properties of mixing, and non-Newtonian fluids. Engaging your kids through sensory exploration nurtures early STEM learning and hands-on experiences, emphasizing how **putty** can act as both a craft material and learning tool.
Key Takeaways
- Safety is crucial; use non-toxic and safe ingredients for each slime recipe.
- Encourage creativity through variations with colors, scents, and textures.
- Allow exploring the properties of slime to develop STEM skills through play.
- Storage of slime is important to enhance longevity.
- Interactive play through slime promotes fine motor skills and cooperative play.
FAQ
1. What are some common slime ingredients that are safe for kids?
This will depend on the specific recipe, but common non-toxic ingredients for slime include white glue, shaving cream, liquid starch, cornstarch, dish soap, and contact lens solutions. Always ensure these are safe for varying ages, as many ingredients can vary in their properties.
2. Can I make colored slime without food coloring?
Absolutely! For natural coloring, you can use ingredients like beet juice, turmeric, or even fruit and vegetable powders. This is a safe alternative for a creative twist to your slime!
3. How can I enhance the sensory aspect of slime play?
Incorporate glitter, aromas, or 3D objects like beads or foam balls. Mixing different textures can amplify the sensory experience while also making the activity more engaging and fun.
4. How long does homemade slime last?
With proper storage in an airtight container, most homemade slimes can last up to a week or even longer. However, if you notice any changes in texture or smell, it’s best to discard it and try a new batch!
5. What should I do if my slime becomes too sticky?
If your slime is too sticky, try adding a small amount of cornstarch or baking soda until the desired consistency is achieved. Kneading it well can also improve the texture!