Essential Guide to How to Record Screen on Windows 10 – Discover Latest Methods in 2025
“`html
Essential Guide to How to Record Screen on Windows 10
Recording your screen in Windows 10 has become an essential skill for many users, from educators creating video tutorials to professionals capturing meetings. In this comprehensive guide, we’ll explore the latest methods to record screen as of 2025. Whether you’re looking to capture gameplay or create instructional content, we’ll detail everything from builtin recording options to recommended software solutions.
Using Built-in Screen Recorder Options
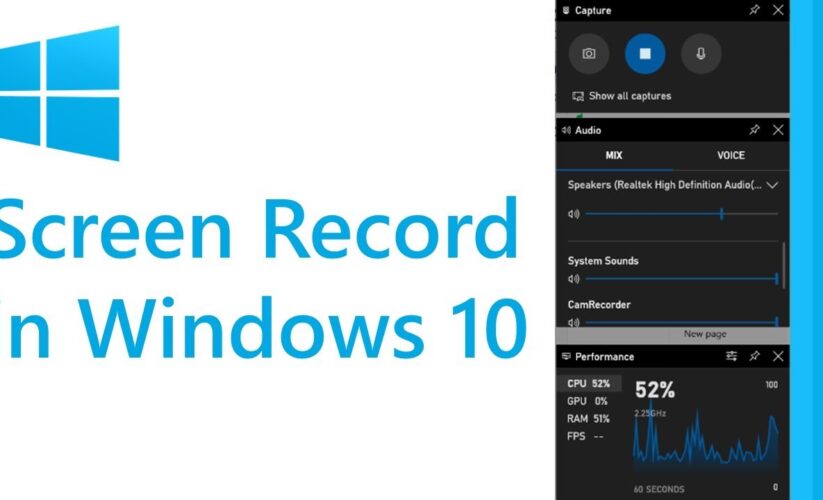
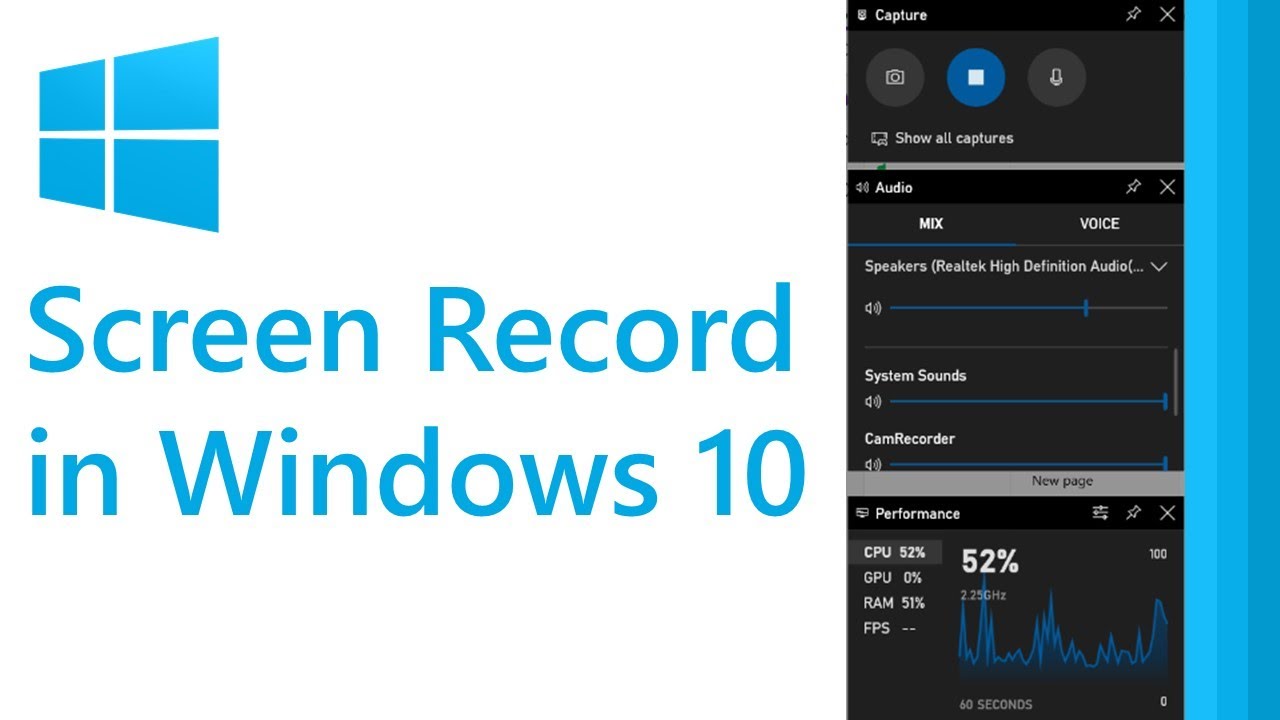
Windows 10 comes with a built-in screen recorder that is perfect for quick video captures. The most common method utilizes the Game Bar, a feature primarily designed for gaming but equally effective for general screen capture. To activate the Game Bar, press Windows key + G. Remember to check that you’ve enabled it under Settings > Gaming before you get started.
How to Use Game Bar for Screen Recording
Game Bar allows you to easily capture screen video without additional software. First, ensure that the screen you want to record is active. Then, press Windows + G to bring up the Game Bar overlay. Click on the record button or press Windows + Alt + R to start screen recording. You can even record audio by activating system sound or connecting a microphone, making it simple to record audio while screen recording.
Active Window Screen Capture
If you want to focus on a specific application, you can also capture just that window. Open the application, launch Game Bar, and select the record option. This is particularly helpful when you’re doing presentations or tutorials. By concentrating on the active window, your audience remains focused on your content.
Choosing the Right Screen Recording Software
While Windows has built-in capabilities, third-party applications often provide enhanced features. From free options to professional-grade tools, there are numerous screen recording software you can utilize. Depending on your needs, lightweight options like Flashback Express and Powerful tools such as OBS Studio have robust functionalities.
OBS Studio Tutorial for Better Recordings
OBS Studio is an open-source software with extensive screen capture capabilities. Install it and configure scenes to include multiple sources, like your desktop and your webcam. For optimal performance, adjust settings such as resolution and frame rate to match your capture needs. The versatility of OBS makes it ideal for recording presentations, webinars, and even live streaming.
Best Practices for Screen Recording
When recording, follow best practices to ensure high-quality results. Clear your desktop of unnecessary distractions, utilize a quality microphone for recording audio, and conduct test recordings to troubleshoot common issues. Also, consider using screen capture tools that allow for easy edits or annotations post-recording to enhance clarity and engagement in your project.
Advanced Recording Techniques
To create professional-quality screen recordings, delve into advanced techniques. Features available in applications may allow you to customize recording preferences, add text overlays, and use annotations for training purposes. These features are particularly useful when creating tutorials or presentations.
Scheduling Screen Recordings
If you’re delivering a webinar or need content at specific times, consider software that allows scheduling for screen captures. This feature lets you automate the recording process, and many apps (including OBS) support it with varying degrees of customization. Combine this with a reliable microphone and bolstered recording settings to put together seamless training videos.
Editing Your Screen Recordings
After capturing your video, you’ll often need to edit screen recordings. Free software like Shotcut offers straightforward editing functionalities. You can cut unnecessary segments, enhance audio quality, and add annotations or effects to boost engagement. Learning basic video editing is vital for any screen recorder aiming to produce compelling content.
Sharing Your Screen Recordings
Once recorded and edited, sharing your videos is the next step. There are various platforms, especially for educators sharing content or professionals piecing together presentations. Utilize dedicated sites like YouTube for broad outreach or simply share through cloud storage for private viewing.
How to Share Screen Recordings Effectively
Depending on your chosen platform, the process of sharing can vary. For sites like YouTube, refining your video titles and descriptions with key search terms will increase visibility. Make use of social media channels to reach your audience effectively. Always consider privacy settings and choose the right method based on your audience’s needs.
Making the Most Out of Your Recordings
Utilizing recorded content for feedback or creating video guides would enhance your knowledge retention while catering to different learning styles. Create succinct compilations of highlights or key points that viewers may find useful. Establishing a series can grow your audience and engage them effectively.
Key Takeaways
- Windows 10 offers an easy way to record screen through the Game Bar, which works for all types of applications.
- Third-party software like OBS Studio offers advanced features for professional recordings.
- Editing your recordings post-capture can enhance clarity and presentation quality.
- There are many ways to share your recordings based on the target audience—be it social media or education platforms.
- Always follow best practices and enhance your recordings with annotations or editing to keep content engaging.
FAQ
1. What are the best free screen recording tools?
Some of the best free screen recording tools include OBS Studio, ShareX, and Flashback Express. Each tool offers unique features— for instance, OBS Studio is highly customizable, making it ideal for advanced users, while Flashback Express is user-friendly and perfect for beginners.
2. Can I record my screen without third-party software?
Yes, Windows 10 includes a built-in screen recorder called the Game Bar, which you can access by pressing Windows key + G. It allows you to capture gameplay as well as additional activities on your screen without needing additional software.
3. How do I record audio while screen recording?
When using the Game Bar, you can record audio by enabling the “include system audio” and “microphone” settings before starting your recording. This allows you to capture both the sound playing on your computer and your commentary.
4. What video format is best for screen recordings?
MP4 is generally recommended for screen recordings as it offers a good balance between quality and file size. It is widely supported across various platforms, making it an excellent choice for sharing videos.
5. How can I optimize my screen recording quality?
Optimize your recording settings by adjusting the resolution and frame rate as needed. Recording in 1080p at thirty frames per second often provides high-quality visuals. Additionally, ensure you have a stable environment (free from distractions) and use a quality microphone for audio.
“`